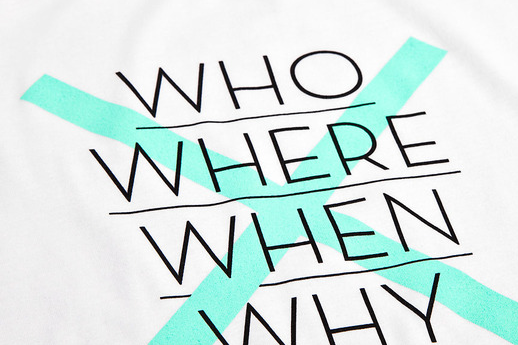
You’ll need to find out the maximum print dimensions for the print method you have in mind. For example, our standard direct to garment printing and screen printing dimensions are 350mm wide x 450mm high. This area will vary depending on the printing company, as most can not go overly close to seems or hems. We also have oversized screens and “all-over” printing available.
2. What are your turnaround times?
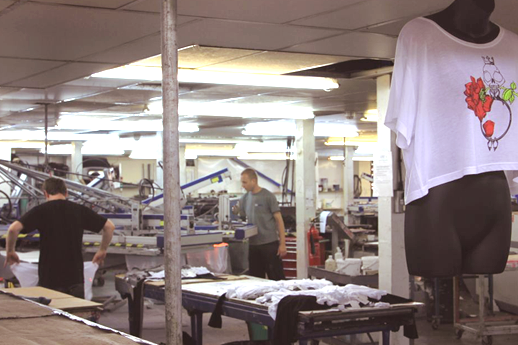
Some places can pop a few t-shirts out in a day, others need a few days to process your order. If you’re pushed for time, then this will be a top priority question for you. Here, most jobs are turned around in 4 to 7 working days, but we’re also able to work to an express turnaround that comes at a slightly higher charge.
3. Do you have a minimum order?
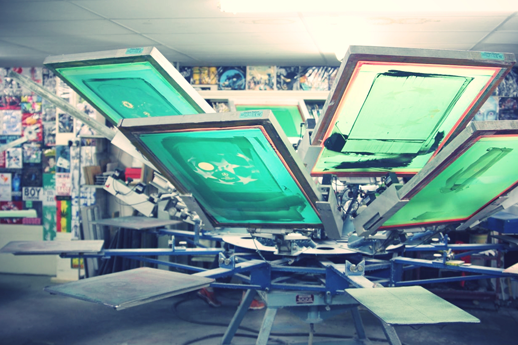
This will vary depending on what print process you’re after. T-shirt screen printing will always come with a minimum order quantity, due to the screen set up. Our minimum order for screen printing is 20 items, and for all other print processes (direct to garment, embroidery and transfer printing) our minimum order is 10 units of the same design. We are able to print a direct to garment sample, this sample cost is then refunded once you place a higher order.
4. Are there any hidden fees?
Be aware of illusive set-up charges. Screen Printing will always come with set-up cost – which we are very honest about right from the beginning. However, the great thing about direct to garment t-shirt printing, is that there are no set up costs. Another thing to watch out for, are charges that apply to tweaks made to your artwork file. We don’t charge for a slight amend to your artwork file, but some print companies will charge for anything from a text font change to a digital logo colour amendment.
5. Do you offer an artworking service?
Most print places offer an artworking service. What you get for your money for the work carried out can vary quite considerably. Some places will charge £50 an hour to work on your file – so watch out, you may get stung. We don’t charge for small changes – the only time we do charge is when a digital file is created from scratch, for which we charge a flat-rate of £14.95.
6. Do I get a visual proof of my order before my job goes to print?
Before you place your order, check to see if you get a visual proof or “mock-up” of your design on a t-shirt template, so you can double check print proportions and placement. Some places may charge for this service, we don’t however.
7. What digital file types do you accept?
This is an important one! Printers can often accept most file types as long as they are a decent size and hi-resolution, so 300dpi. We prefer .png files (click here to find out how to save your artwork as a .png file) and for Direct to Garment printing, and vector based artwork for tshirt screen printing and polo shirt embroidery.
8. What are your delivery costs?
Our standard delivery UK wide is £9.95. You will need to inquire if you require your printed garments to be sent overseas. Extra costs will occur if you require express or next day delivery. We are able to deliver pre-9am, pre-12 and also on Saturdays.
9. Are you able to match specific colours?
When digital direct to garment printing we are not able to match colours exactly. However, we are with screen printing, so if you have a specific PANTONE colour in mind, do let us know. This will be standard practice across all t-shirt printers london.
10. How do I care for my printed garments?
If you have any queries regarding care of your garments remember to double check with the printers. Each different print technique requires slightly different wash and iron care. The most durable print type is screen printing, the least durable is transfer printing – so bare this in mind.
—
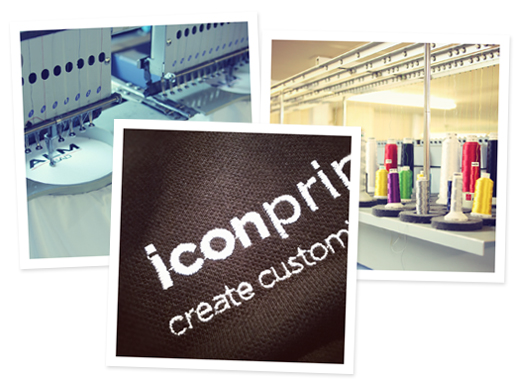
Icon Printing are based in Shoreditch, London and are t-shirt direct to garment and t-shirt screen printing specialists. For more an instant quote, please visit our website. You can email us at: sales@iconprinting.com, or call on: 0207 183 8431